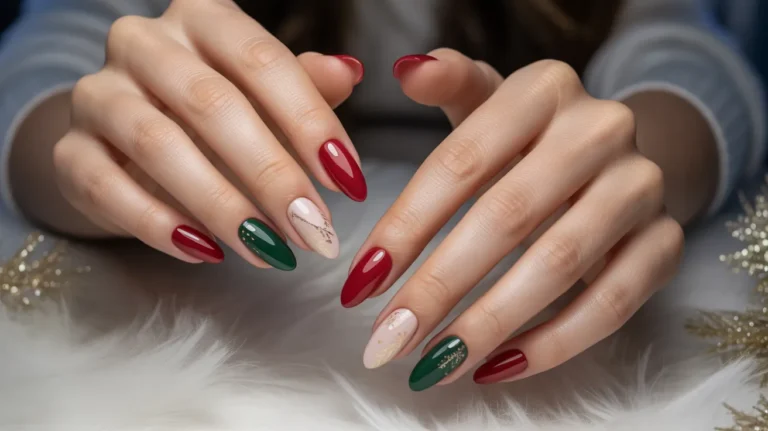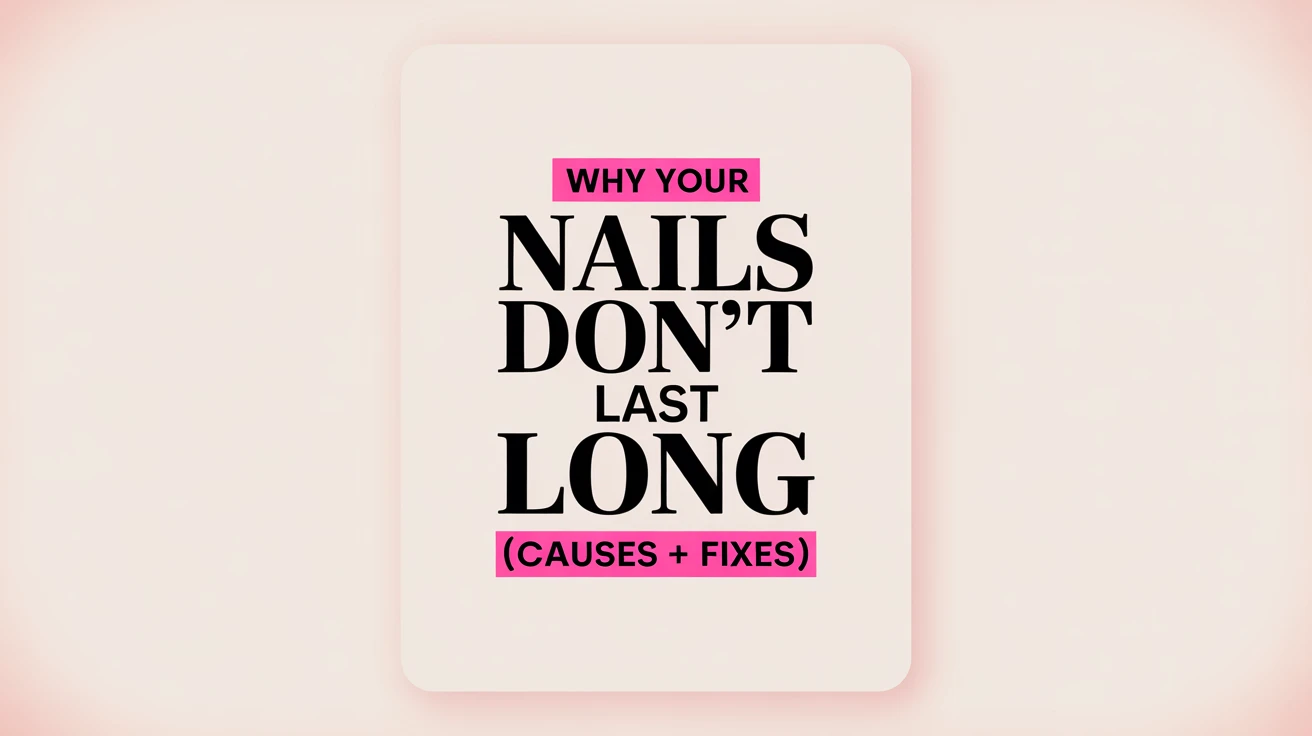
Why Your Nails Don’t Last Long (Causes + Fixes)
You just got your nails done. They look absolutely perfect — the color is flawless, the shape is exactly what you wanted, and you feel great. Then, three days later, one nail chips. By day five, two more have followed. And by the end of the week, your manicure looks like it survived a natural disaster, and you think_ Why Your Nails Don’t Last Long? Sound familiar?
If your nails never seem to last more than a few days, you are not alone—this is one of the most common complaints heard in nail salons worldwide. The frustrating part is that most people assume it’s just bad luck, weak nails, or poor-quality polish. In reality, there are specific, identifiable reasons why nails chip, peel, break, or lift prematurely—and almost all are completely fixable.
In this guide, we are going to walk through every major cause of short-lasting nails — from the things you do before your manicure to the habits you have after it — and give you clear, practical fixes for each one. By the time you finish reading, you will know exactly what has been sabotaging your nails and precisely what to do about it.
The Basics: What Makes a Manicure Last?
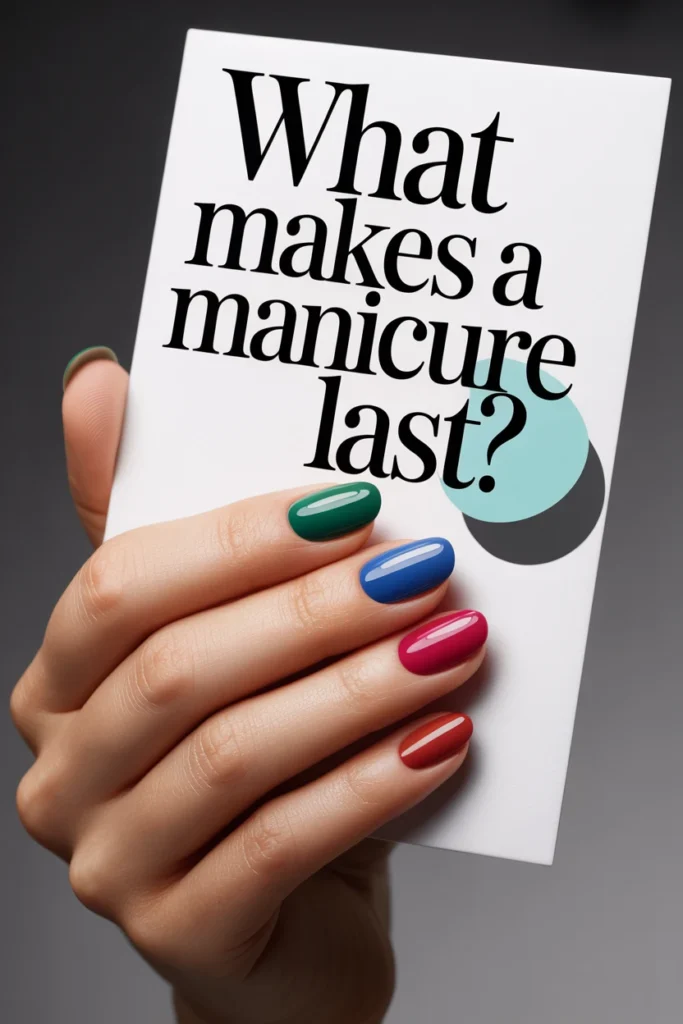
Before we dive into the causes, it helps to understand what actually makes a nail look last in the first place.
A long-lasting manicure depends on three things working together: surface preparation, product adhesion, and aftercare. Think of it like painting a wall. If the wall is dirty, oily, or damaged before you paint it, the paint will peel off quickly, no matter how good it is. But if the surface is clean, smooth, and properly primed, even a basic coat of paint will hold beautifully for a long time.
Your nails work exactly the same way. When any one of these three areas breaks down, your manicure pays the price. Let’s break down each cause in detail.
Cause #1: Skipping or Rushing the Nail Prep

This is the single biggest reason manicures fail early—and it is almost always overlooked.
Proper nail preparation is the foundation of a long-lasting manicure. If your nails are not correctly prepped before applying polish or gel, nothing else you do will matter. The product simply will not bond properly to the nail surface.
So what does proper nail prep actually involve? It means completely removing all traces of old polish. It means pushing back and tidying the cuticles, because polish applied over or near lifted cuticles will peel from the base almost immediately.
It means lightly buffing the nail surface to remove shine and create a texture that polish can grip onto. And it means — this one is crucial — dehydrating the nail plate before applying any product.
Your natural nails produce oils constantly. These oils travel up through the nail plate and sit on the surface. When you apply polish directly over an oily nail, you are essentially applying it over a barrier. No matter how good your polish is, it cannot bond properly through a layer of oil.
The Fix: Always clean your nails with a lint-free wipe soaked in rubbing alcohol, or use a dedicated nail dehydrator, before applying any polish or gel. This removes surface oils, giving your product the clean, dry surface it needs to adhere properly. Gently push back your cuticles, lightly buff the nail surface, and never skip this step — even if you are in a hurry.
Cause #2: Skipping the Base Coat
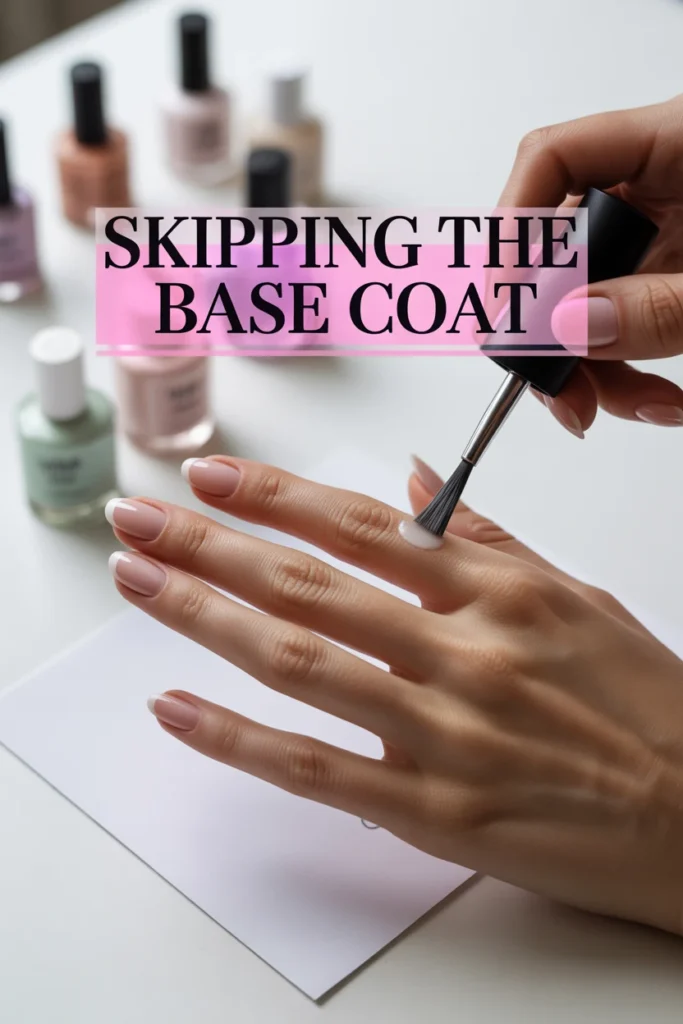
If you paint your nails without a base coat, you are setting yourself up for a short-lived manicure every single time. A base coat is not optional. It is the glue that holds your natural nail to your polish.
Base coats are specially formulated to bond to the nail surface on one side and to nail polish on the other. They create a sticky, even layer that gives the color coat something to grip onto. Without it, polish sits loosely on the nail surface and chips far more easily.
Beyond adhesion, base coats also protect your natural nails from staining — particularly important with dark polish colors — and some formulations actually strengthen the nail plate at the same time.
The Fix: Always apply a thin, even base coat before your color. Let it dry properly before moving on to your color coats. Look for base coats labeled “bonding,” “adhesion,” or “sticky” for the strongest grip, particularly if your nails are smooth or naturally oily.
Cause #3: Applying Polish Too Thickly
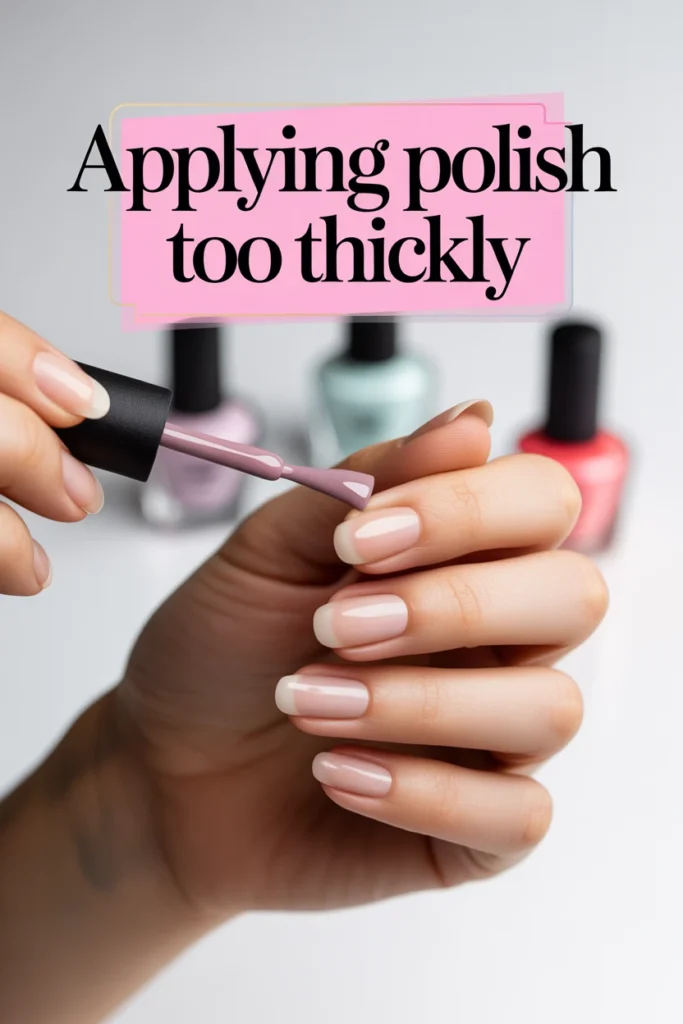
More polish does not mean a longer-lasting manicure. In fact, it usually means the opposite.
When you apply nail polish in thick, heavy coats, the outer layer dries and hardens before the inner layer has a chance to cure properly. This creates a situation where the polish looks dry on the surface but remains soft and flexible underneath. That soft underlayer makes the whole coat vulnerable to denting, smudging, and peeling.
Thick coats also take significantly longer to dry all the way through, which means every bump, scrape, or accidental touch during that extended drying window can ruin your manicure.
The Fix: Apply two or three thin coats of color rather than one or two thick ones. Each thin coat should dry fully before the next one goes on. Thin coats dry faster, adhere better, and result in a much smoother and more durable finish. The same principle applies to gel polish: thin, even layers cure more completely under a UV or LED lamp.
Cause #4: Not Sealing the Tips
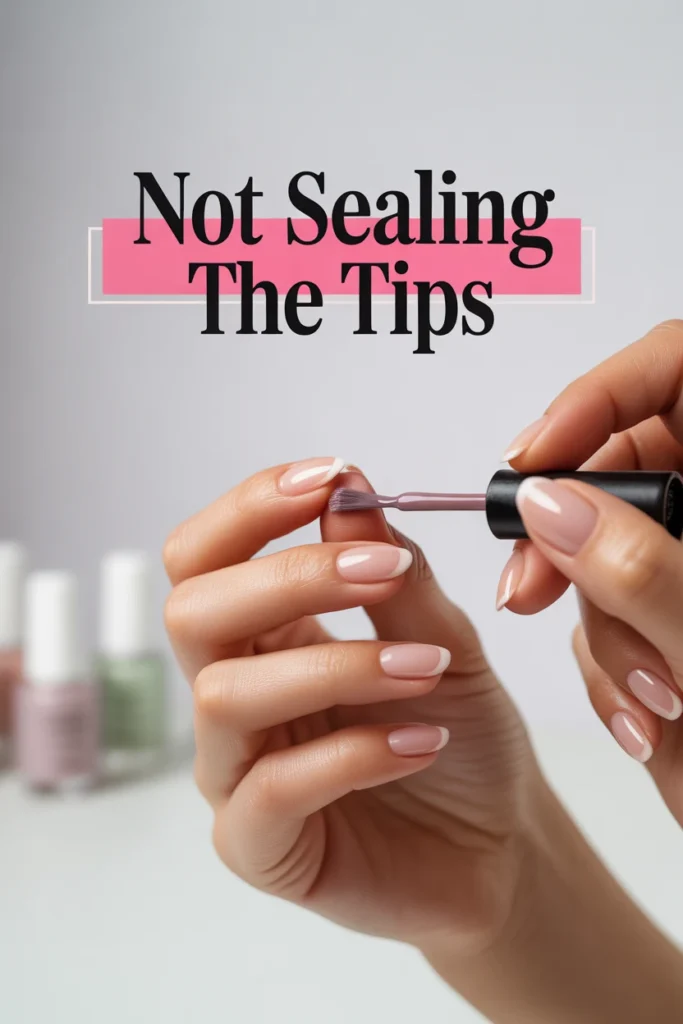
Here is something that surprises many people: most nail chipping starts at the nail tip, not the surface. The free edge — the very tip of your nail — is the most exposed and vulnerable part of your manicure. Every time you type, open a package, dig through your bag, or tap your nails on a hard surface, the tip takes the impact.
If that tip is not properly sealed with polish and top coat, it will chip and wear down quickly, and that chipping will spread inward across the nail surface.
The Fix: Every time you apply a coat of polish — base coat, color coat, and top coat — swipe the brush across the very tip of the nail to seal the free edge. This is called “capping the tips,” and it is one of the most effective ways to extend the life of a manicure. It takes only a second per nail and makes a dramatic difference in longevity.
Cause #5: Skipping the Top Coat — or Using the Wrong One
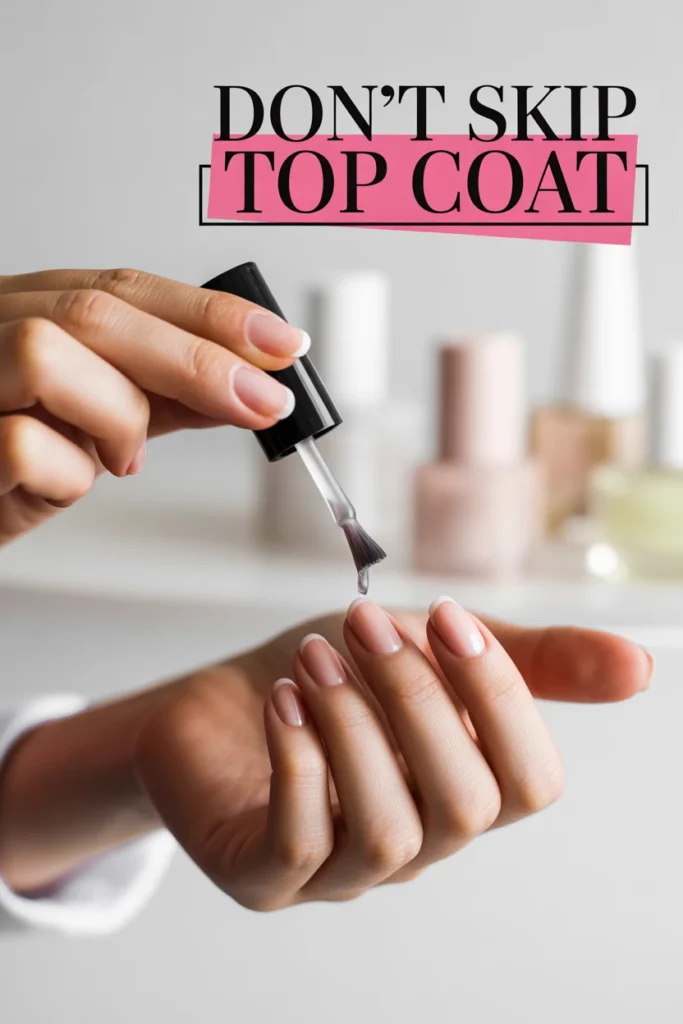
A top coat is your manicure’s shield against the outside world. It seals in the color, adds shine, and creates a protective layer that withstands the daily wear and tear your nails endure. Without it, your color coat is completely exposed and will dull, chip, and scratch very quickly.
But not all top coats are created equal. Some are dry, hard, and glass-like, which is what you want. Others remain slightly flexible and soft, which offers less protection. And some budget top coats actually contain ingredients that cause yellowing or cloudiness over time.
The Fix: Always finish with a high-quality fast-drying top coat. Apply it over your color coats and remember to cap the tips as mentioned above. For extra staying power, apply a fresh layer of top coat every two to three days. This refreshes the protective layer as it naturally wears down, significantly extending the life of your manicure without needing to redo the whole thing.
Cause #6: Water Exposure and Wet Hands
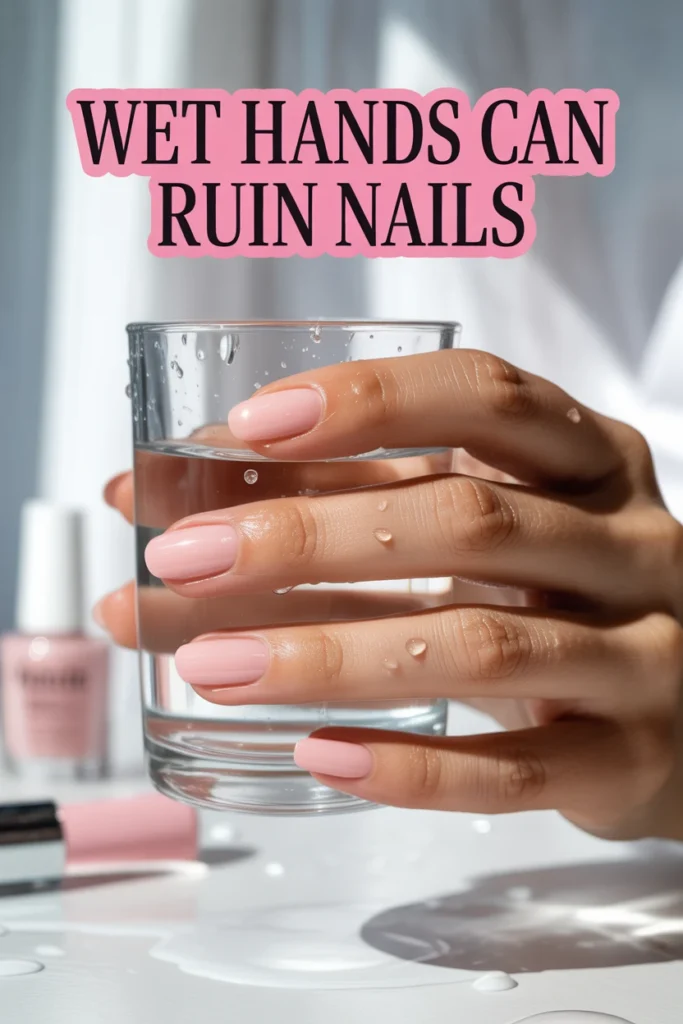
Water is one of the biggest enemies of a long-lasting manicure — and most people have no idea just how much damage it causes.
When your nails are exposed to water, they absorb it and expand slightly. When they dry out again, they contract back to their original size. This constant expansion and contraction puts stress on the bond between the nail plate and the polish. Over time — and sometimes very quickly — that stress causes the polish to lift and peel away from the nail.
Activities such as washing dishes, taking long baths, swimming, and frequent handwashing are major contributors to premature nail chipping. This is why people who work in kitchens or frequently have their hands in water tend to struggle with nail longevity far more than others.
The Fix: Wear rubber or latex gloves whenever you wash dishes or clean surfaces with water and cleaning products. Try to keep your hands out of prolonged water exposure as much as possible in the first 24 hours after a manicure, since the polish is most vulnerable then. When washing your hands, use lukewarm water rather than hot, as hot water accelerates the expansion and contraction of your skin.
Cause #7: Using Your Nails as Tools
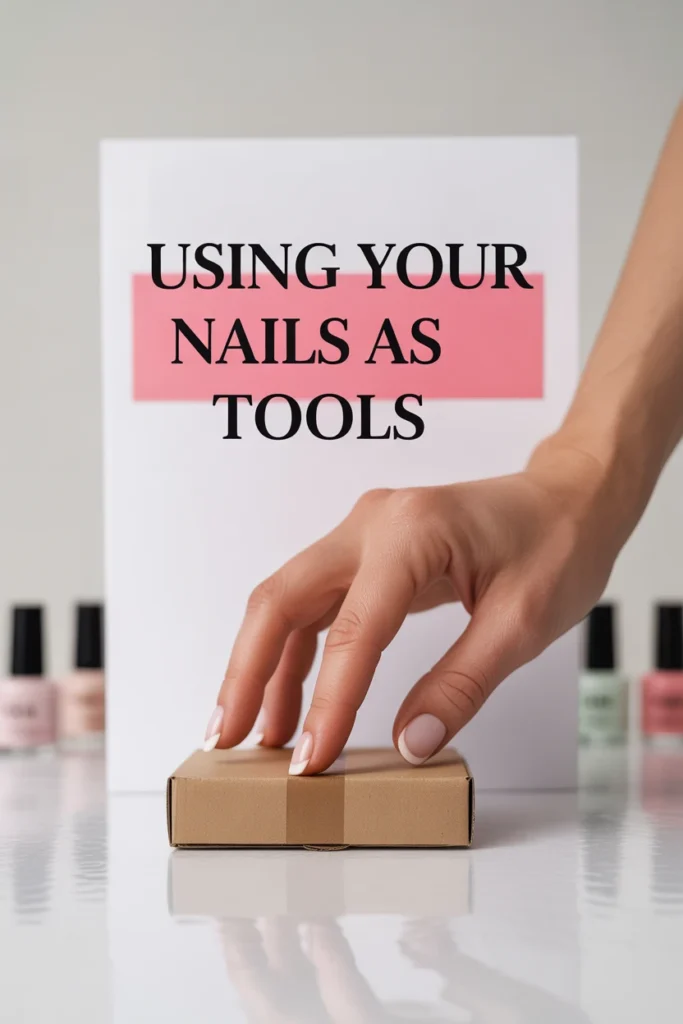
This one comes down to habit, and it is a habit that destroys manicures faster than almost anything else.
Using your nails to open cans, scrape off stickers, prise open packaging, type heavily, or scratch at surfaces places enormous stress on the tip and free edge of the nail. This is called “using your nails as tools,” and it is the fastest route to a chipped or broken nail. Even gel and acrylic nails, which are considerably stronger than natural polish, will suffer under this kind of repeated mechanical stress.
The Fix: Train yourself to use the pads of your fingers rather than your nail tips for everyday tasks. Use a coin, key, or proper tool to open cans and packaging. When typing, try to use the soft pads of your fingertips rather than the nail tips. This habit adjustment alone can add several days to the life of your manicure.
Cause #8: Dry, Dehydrated Nails and Cuticles
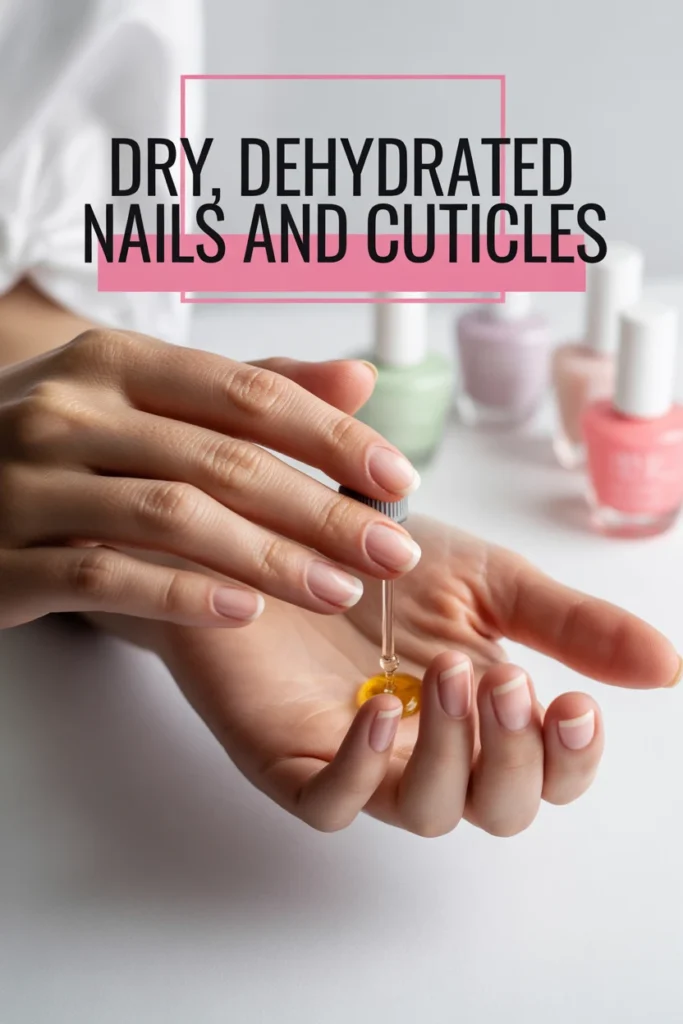
Healthy, well-moisturized nails are more flexible and resilient. Dry, dehydrated nails are brittle, prone to peeling, and do not hold polish as well. When the nail plate lacks moisture, it becomes more likely to bend and flex under pressure — and that flexing causes polish to crack and chip.
Dry cuticles are also a major culprit. When cuticles are dry and lifting, they pull at the base of the nail, causing polish to lift and peel from the bottom of the nail upward.
The Fix: Moisturize your hands and cuticles daily. Use a dedicated cuticle oil — applied directly to the cuticle and base of the nail — at least once a day, ideally before bed.
Cuticle oil keeps the skin soft and flexible, prevents lifting, and keeps the nail plate properly hydrated. Jojoba oil, vitamin E oil, and almond oil are all excellent natural options if you prefer to avoid commercial products.
Important note: Apply cuticle oil after your manicure has fully dried and cured, not before or during, as oil prevents polish adhesion.
Cause #9: Peeling Off Gel or Acrylic Nails
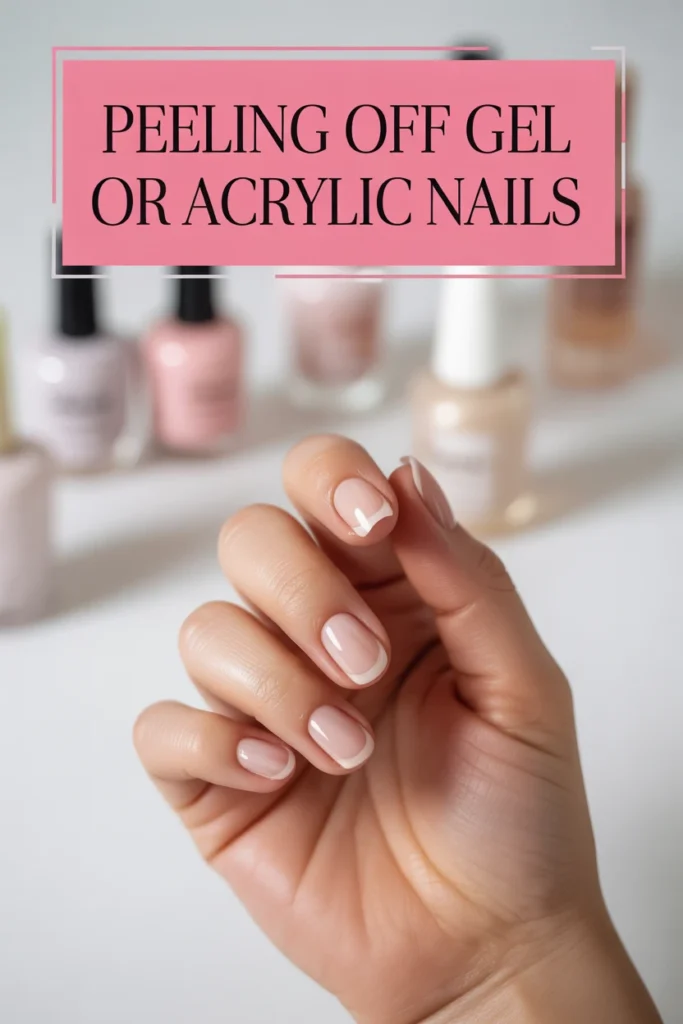
If you wear gel polish or acrylic nails and you have a habit of picking or peeling them off when they start to lift, please stop immediately.
When gel or acrylic is peeled off the nail rather than properly removed with acetone, it not only removes the product but also damages the nail. It removes layers of the actual nail plate along with it.
This leaves your nails thin, damaged, ridged, and severely weakened. Thin, damaged nails have poor surface adhesion, which means your next set will lift and chip even faster — creating a frustrating cycle of damaged nails and short-lasting manicures.
The Fix: Always remove gel and acrylic nails properly. For gel polish, soak cotton pads in 100% acetone, place them on each nail, wrap in foil, and leave for 10 to 15 minutes before gently pushing off the softened product with an orange stick.
Never force it. If it is not coming off easily, soak for a few more minutes. Let your natural nails recover between sets with a strengthening treatment or a nail hardener.
Cause #10: Low-Quality Products
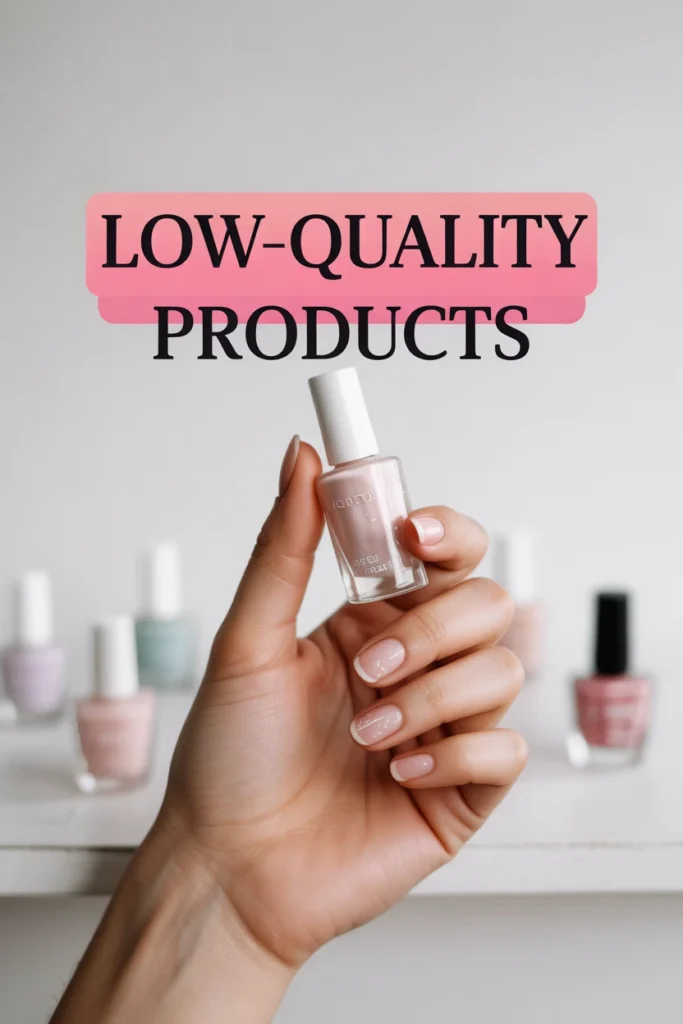
Not all nail polishes and gel products are made equal. Budget nail polishes often contain lower-quality pigments and fewer bonding agents, which means they chip faster, apply less evenly, and simply do not last as long as professional-grade formulations.
The same is true for gel products. Low-quality gel polishes may not cure properly under UV or LED lamps, leaving a soft, under-cured layer that peels away quickly. Using an old, underpowered, or incompatible gel lamp can have the same effect.
The Fix: Invest in quality products where it counts. You do not need to spend a fortune, but sticking with reputable nail polish brands makes a genuine difference in longevity.
If you do gel nails at home, make sure your lamp is compatible with your gel brand and that the bulbs are in good working condition. LED and UV lamps lose power over time and may need to be replaced to ensure proper curing.
Cause #11: Hormonal Changes and Health Factors

Sometimes the reason your nails do not last has nothing to do with your technique or products — it has to do with what is happening inside your body.
Hormonal changes, such as those experienced during pregnancy, menopause, or certain phases of the menstrual cycle, can affect the oil and moisture balance of the nail plate. This can temporarily make nails more oily, more brittle, or more prone to peeling. Thyroid conditions, anemia, and nutritional deficiencies — particularly in biotin, iron, zinc, and vitamins A, C, and E — can also significantly weaken the nail structure.
Certain medications can also affect nail health and polish adhesion, particularly blood thinners, acne medications, and chemotherapy drugs.
The Fix: If you have noticed a sudden change in your nail quality that does not seem related to technique or product changes, speak with your doctor. A simple blood test can often identify nutritional deficiencies.
Incorporate nail-friendly foods into your diet — eggs, leafy greens, nuts, seeds, salmon, and sweet potatoes are all excellent for nail strength. A biotin supplement is also widely used to support nail health, though always consult a healthcare professional before starting any supplement.
Cause #12: Washing Hands Immediately After a Manicure
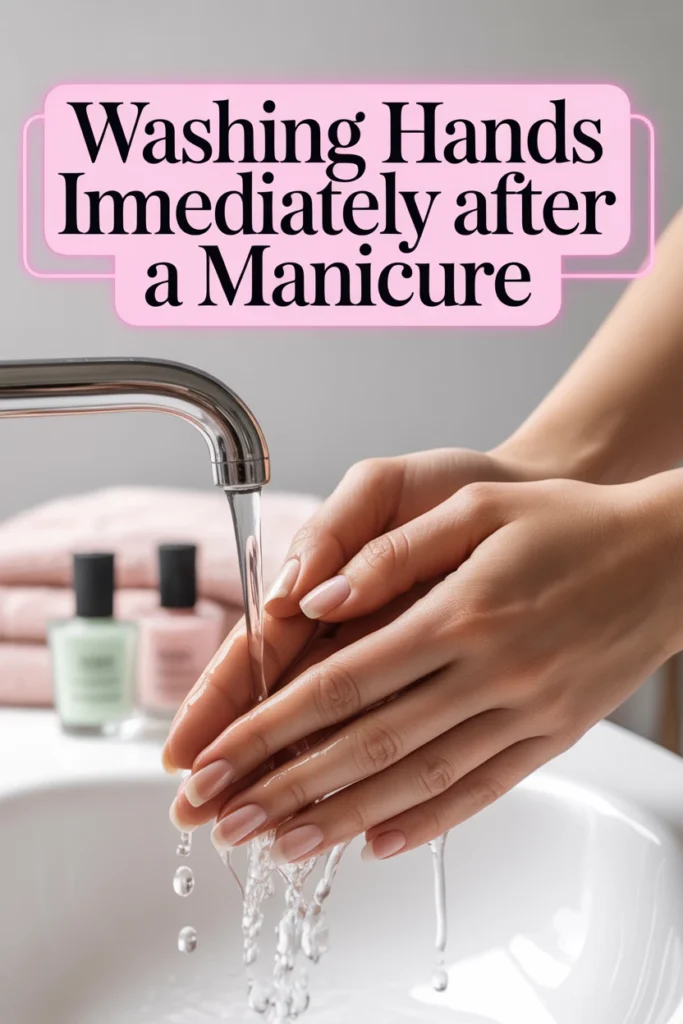
This is a surprisingly common mistake. Many people wash their hands within minutes of finishing their nails — either out of habit or to clean up the skin around the nail. But doing so when the polish is still fresh is one of the quickest ways to shorten the life of your manicure.
Polish — even fast-drying formulas — takes much longer to fully harden than most people realize. While the surface may feel dry to the touch within 10 to 15 minutes, the layers underneath can take up to 12 hours to fully cure and harden. Any water exposure during that window can cause bubbling, smudging, or premature lifting.
The Fix: Wait at least one to two hours before washing your hands after a fresh manicure. If you need to clean up skin and polish overflow immediately, use a small brush dipped in acetone rather than washing your hands with water.
Avoid soaking your hands completely for at least 12 hours after a fresh manicure for the best possible longevity.
Quick Reference: Causes and Fixes at a Glance
Skipping nail prep — Always dehydrate nails before applying any product.
No base coat — Use a bonding base coat every single time.
Thick polish coats — Apply thin layers and allow each one to dry fully.
Unsealed tips — Cap the free edge with every coat, including top coat.
No top coat — Finish with a quality top coat and refresh it every few days.
Too much water exposure — Wear gloves for dishwashing and cleaning.
Using nails as tools — Use fingertip pads and proper tools instead.
Dry nails and cuticles — Apply cuticle oil daily after the manicure has dried.
Picking off gel or acrylic — Always remove with acetone, never peel.
Low-quality products — Invest in reputable brands and a proper gel lamp.
Health and hormonal factors — Eat a nail-friendly diet and see a doctor if needed.
Washing hands too soon — Wait at least one to two hours after a fresh manicure.
Bonus Tips for Making Your Manicure Last Longer

Beyond fixing the specific causes above, here are a few extra habits that nail professionals swear by for maximum nail longevity.
Wear gloves in cold weather. Cold temperatures dry out the skin and nails, leading to brittleness and peeling. Wearing gloves outdoors in winter protects both your skin and your manicure.
Avoid hand sanitizer directly on nails. The high alcohol content in hand sanitizers is extremely drying and can quickly break down your top coat. Try applying sanitizer to your palms and rubbing it in without letting it sit on your nails for extended periods.
Do not shake your nail polish bottle. Shaking introduces air bubbles into the formula, which create tiny, weak spots in the dried polish, making it more likely to chip. Roll the bottle between your palms instead.
Store your nail polish correctly. Keep polish in a cool, dry place away from direct sunlight. Heat and light degrade the formula over time, resulting in a thicker, less smooth application that does not adhere as well.
Let each nail dry between coats. Patience is one of the most underrated tools in nail care. Rushing through coats without allowing each one to dry properly is one of the most common causes of soft, easily damaged manicures.
Frequently Asked Questions
1. How long should a regular nail polish manicure last?
Ans: A properly applied regular nail polish manicure should last between five and ten days with minimal chipping, provided the nails were correctly prepped, and a quality base coat and top coat were used.
2. How long should gel nails last?
Ans: Gel nails, when properly applied and cured, should last two to three weeks without significant chipping or lifting. If your gel is lifting or peeling before the two-week mark, the most likely causes are insufficient nail prep, improper curing, or frequent water exposure.
3. Why do my nails peel instead of chipping?
Ans: Peeling usually indicates that the polish is lifting from the nail plate rather than breaking across the surface. The most common causes are oily or insufficiently dehydrated nails, skipping the base coat, or cuticle lifting at the nail base. Peeling can also indicate a damaged nail plate from previous gel or acrylic removal.
4. Does diet really affect how long nails last?
Ans: Yes, significantly. Nails are made primarily of keratin, a protein that depends on adequate nutrition to form properly. Deficiencies in biotin, iron, zinc, and vitamins A and C can lead to thin, brittle, or soft nails that do not hold polish well and break easily.
5. Is it better to let nails breathe between manicures?
Ans: Nails do not technically breathe — they do not require oxygen from the air as they receive nutrients from the bloodstream. However, giving your nails a break from gel and acrylic products periodically allows you to treat and strengthen the nail plate and assess its overall health.
Conclusion
Short-lasting nails are not simply bad luck — they are almost always the result of one or more identifiable, fixable causes. Whether it is skipping your base coat, applying polish over oily nails, using your fingertips as tools, or simply not sealing the tips, every one of these issues has a straightforward solution.
The good news is that you do not need expensive products or professional training to fix most of these problems. You just need the right knowledge and a few adjustments to your routine. Start with nail prep and base coat — these two steps alone will make a more noticeable difference than any product upgrade.
Take care of your nails, respect the process, and your manicure will reward you with the long-lasting, beautiful results you have been working toward.